Infographics are a timely way to spice up your English lessons and intrigue your students. What’s more, they are easy and fun to create! Clare Catchpole explains how to make your own infographics and how to turn the process into a creative online class project.
As a teacher and materials writer, I’m always looking for ways to make my materials as engaging as possible, and the design tool Canva has become my best friend. Gone are the frustrations of trying to format dreary Word documents. Canva is far more intuitive to use and you can quickly put together colourful, personalised and professional looking documents, such as presentation slides, CVs, and (of course) infographics.
Sharing new skills with my students
Once I realised how simple it was to use Canva, I immediately saw the potential to utilise it in an online class project. For students, it allows them to be more creative visually with their work, and highlights the importance of presentation in getting a message across.
Why Infographics?
Infographics are a colourful and engaging way of presenting data. Background colours, graphics and a huge choice of fonts bring texts alive and make them easier to read.
Class time is precious, so you’d be forgiven for thinking that fiddling around with formatting just takes up too much time and distracts from the actual writing task. However, making it a collaborative group project means that all the decision making will be done in English. The process is just as important as the final product.
Moreover, skills in editing and presenting information are going to come in so useful for your students in future projects at school, at home and at work. In my experience, students feel a real sense of pride and achievement in creating something that looks professional.
The Project: “Make Your Own Infographic”
I devised the project for intermediate and above level students. It’s ideally suited to online teaching, but also could be used in a classroom where students have access to computers and the internet.
The objectives of the project:
• Learning basic design skills for presenting information
• Learning how to edit text from a video
• Building skills in collaboration
• Practicing the language of negotiation and decision making
The inspiration for this project came from a lesson I created on the topic of Skateboarding. It’s based on a short TED-Ed animated video and I used this to create my first infographic:
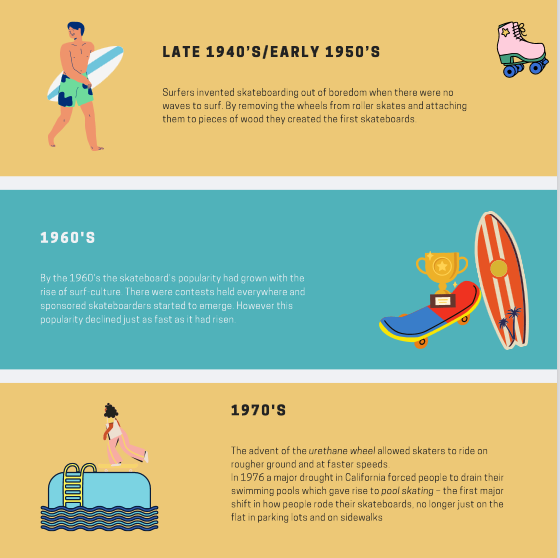
The process of making notes from the video narration and editing it into text suitable for the infographic was interesting, and it’s a good challenge for students to try. It requires listening for the overall gist to pick out the main points, then either transcribing or paraphrasing sentences.
If you’d like to use the project with your class this this lesson could be used as a model for making an infographic using a video as the source of information.
Finding engaging content: TED-Ed Brief Histories videos
TED-Ed have made a number of animated “Brief History of…” videos available on YouTube. This will be the source of information that students will use to create their infographics. The topics are varied and quite fun. I have compiled them into a playlist:
TED-Ed Brief Histories Playlist
Each video is about five minutes long and the animation will not only help students to understand the content, but it can also inspire them when searching for appropriate images for their infographics. TED-Ed is a reliable and trusted source providing well-researched and fact-checked information.
Now over to you: A Step-by-Step Guide to Making Your Own Infographic
Before you download the Project resource pack (more on that later), first of all you definitely should try creating an infographic for yourself. Unless you know the students have all had experience editing with Canva, it will be necessary for you to demonstrate each stage of the project using screenshare.
Fortunately, it’s easier than you might think if you follow the steps below.
1. Subscribing and Setting Up a Canva Account
Once you’re on the Canva website, click on log in, if you’re already subscribed or if not select sign in. To subscribe to Canva.com you only need to have an email address and you can use the free version.
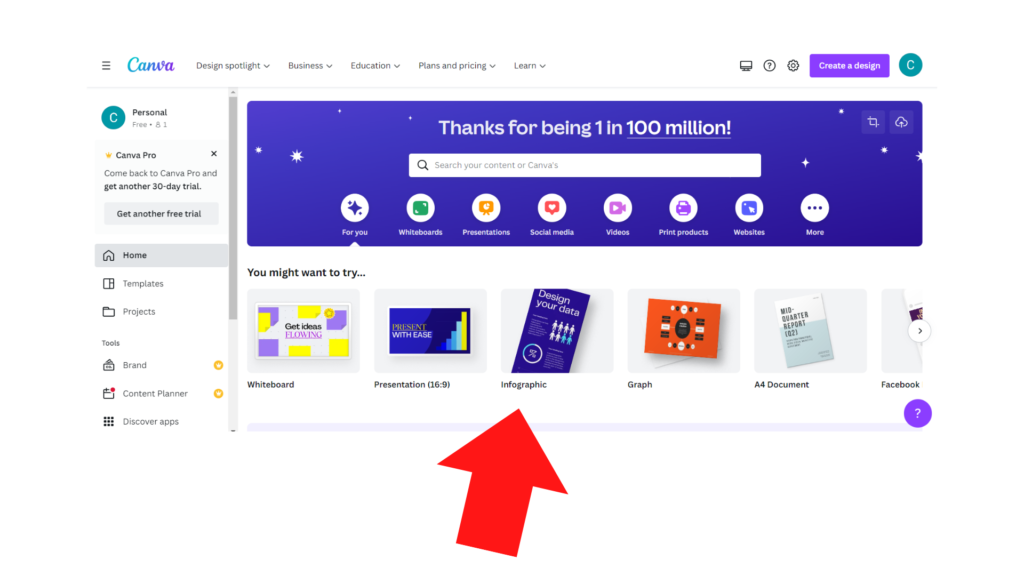
Once you’ve signed in you’ll see the home page which give various options for different documents you might want to make. Select “Infographic”.
2. Using Templates
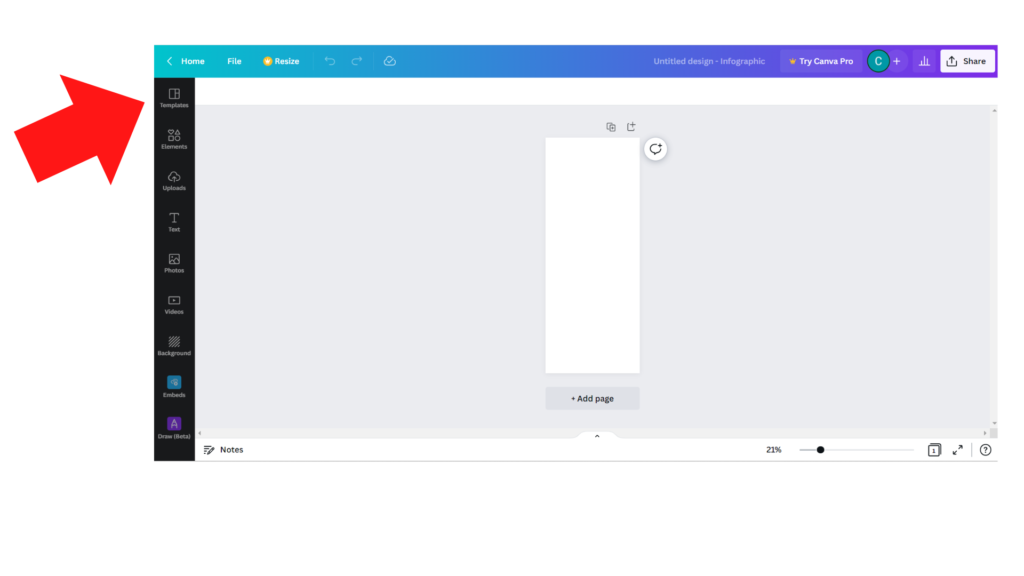
You should see this screen with a blank infographic. On the left hand side of the screen is a panel of tools. At the top you’ll find the “template” tool. Click this and a panel of different templates will appear.
 There is a search tool where you can put in keywords for the topic you are going to write about. Once you’ve entered some keywords lots of different templates will appear.
You can then choose a template that you think will work well for your project. This will save a lot of work if you just want to create something from scratch. Once you have selected a template you can start to work on it.
3. Setting up your Infographic Project
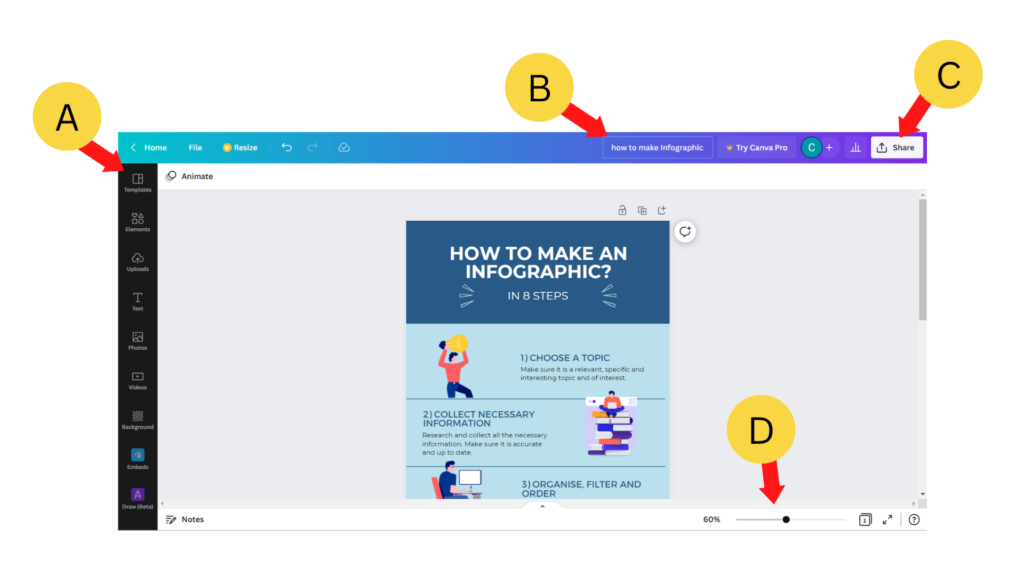
A) The tool panel includes all the formatting tools you need:
• Templates – to search different template versions for your project
• Elements – for graphics/icons (with “Canva Pro” paid version you get a much bigger choice)
• Uploads – for images/video/audio you wish to upload from your device
• Text – creates headings, subheading, box of text
• Photos – from Canva’s own selection again, there’s a bigger choice with “Canva Pro”
• Background – select colours/patterns/shapes for the background
• Embed – you can embed videos and posts direct from YouTube, Facebook, Google Maps etc.
B) Save your infographic under a new name before you start
All the changes you make will automatically be saved, but you must give the project a name so you can easily find it again!
C) Click on the Share button
To share the project with other people, you’ll need to add their email address. This is also where you can download the final document in different formats or share it to social media.
D) It’s possible to zoom in and out of the document using this tool
So it’s easy to see the full document or work in detail on one section at a time.
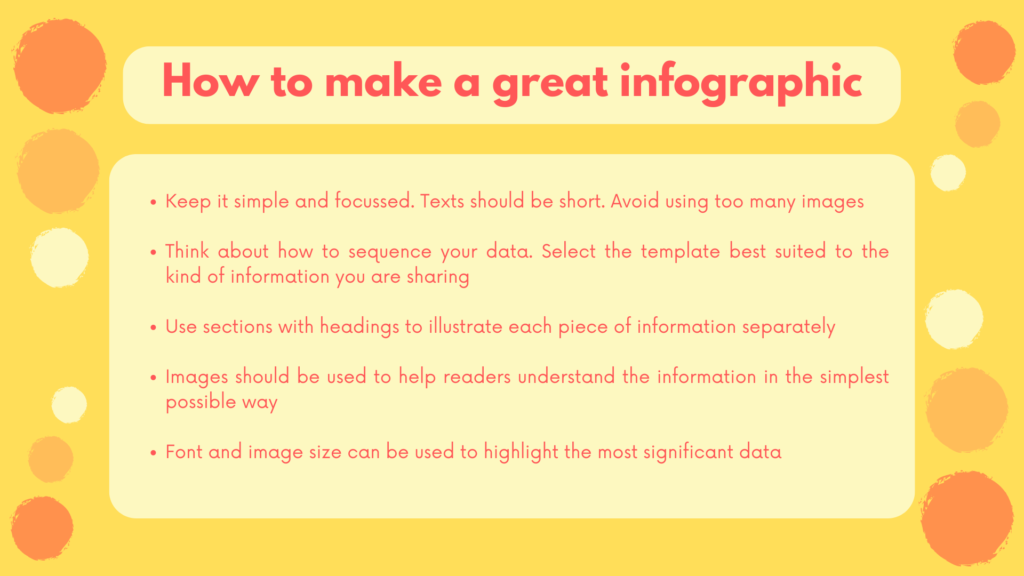
4. Infographic Guidelines
You can play around with the overall design, using different background colours, fonts and graphics. Here are a few basic guidelines to follow:
Now you’ve had a go yourself, do you feel ready to share this new tool with your students?
If so, you can download this Online Creative Collaboration Project: “Make your Own Infographic” from the Express Yourself in English website.
This resource pack includes:
• A 4 x 60 minute Lesson Project + Homework (Complete lesson plan)
• Handouts include:
◦ Infographic student guide for the project
◦ Guidelines for how to make infographics
◦ “Ground Rules on Collaboration” infographic (and template version for class use)
• Language for Collaboration: Decision Making, Suggesting & Choosing – vocabulary sheet and exercises
• Final Reflections handout for the end of the project
You can download the complete resource pack as a zip file here.
Alternatively, check out Clare’s follow-up article, where she shares the complete resources plus more in-depth information on how to set up a collaborative online class project.
***

Clare Catchpole
Clare is a freelance EFL English Teacher and ELT materials writer in Nice, France. She writes materials based on thought-provoking topics for teaching Intermediate/Advanced level English students. You can find out more and explore Clare’s resources archive on the Express Yourself in English website.