Workshop Review: “Student-Centered Online Teaching” with Russell Stannard
Last Saturday’s ELTA-Rhine workshop definitely kept its promise of demonstrating how to add variety to the digital classroom. Within the space of an hour, I felt confident creating and using a range of fun online games and applications. We all left energised and engaged. Talk about creative inspiration!
Russell Stannard’s fast-paced delivery was as easy to follow as it was intriguing. Although he asked us to turn off our cameras and microphones due to the size of the group, he managed to make us all feel welcome and integrated throughout the workshop.
With all the different features we got to know and try out for ourselves, time just flew by.
Activity is key
First of all, Russell highlighted the importance of activities.
Sitting in front of a desktop for hours on end is tiring—not only physically but also mentally. Our brains are wired to do real things with real people in the real world. Therefore, variety and social interaction are essential for successful remote learning.
The more we ‘do’, the less drained and the more motivated we feel after an online session.
AnswerGarden—plant a seed and grow a flowerbed
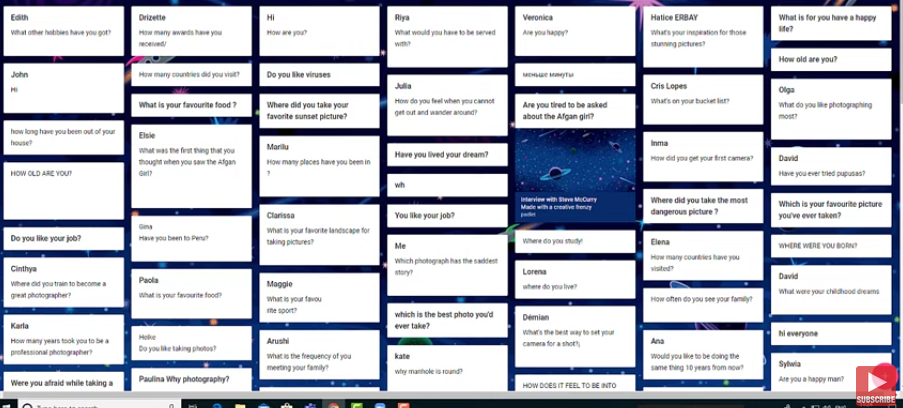
As a warm-up, we commented on a live pin board that Russell made available through screen sharing. It was fun to see the board fill up with our answers to the question, “How do you feel about teaching online?”
It looked something like this:

Finding out about the other participants’ opinions was a nice way to create instant connection. Many answers were similar and relatable.
Padlet
Next, we used Padlet as a more sophisticated version of a live pin board. It allows you to post comments under your name and to comment on other people’s posts. Moreover, it lets you record little sound snippets which you can then share on the board as well.
In big groups like ours (over 50 people), it’s impossible to get everyone to talk. However, a pin board is a convenient way to engage participants and fuel the discussion, no matter the size of the group.
Again, being able to read and comment on other people’s views created connection and provided food for thought.
Padlet has some more cool features to offer, such as quizzes and questionnaires. For more info, check out this video on what else you can do with the app.
Wordwall
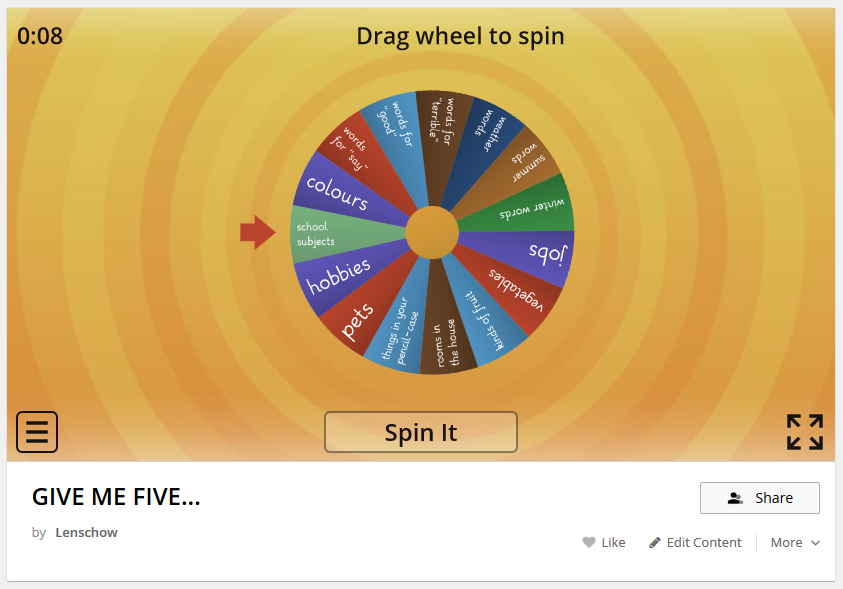
Last but not least, Russell introduced us to Wordwall, a web application for creating online games around words. With its huge variety of templates for resources (gap-fills, gameshow quizzes, whack-a-mole, etc.), it was a real show-stopper.
My favourite was the ‘random wheel’, a game providing prompts that can be used for group discussions or in breakout rooms:
Unlike AnswerGarden, Padlet and Wordwall require registration. However, anyone will be able to use your resources once they are published. Thus, you can register and create activities that you can share via a web link afterward.
If you want to know more about digital learning tools, you will find a wealth of information on Russell’s website. There, he also offers step-by-step tutorials on how to use the apps mentioned in this article.
Blended Learning: a real game-changer
Besides activity, Russell talked about blended learning as the second most important feature of successful digital learning. With online teaching being the new standard, “blended learning” means getting your students to do their homework in between online lessons.
Once they start coming to class prepared, you will be able to elevate your training sessions to a much higher level. This also means that your learners will have to take a lot more responsibility for their progress.
However, surprising them with entertaining and creative activities will go a long way towards engaging and motivating them to actively participate.
In the long run, you can actually start developing your lessons together with your students, as the term “student-centered online teaching” implies. With the help of their feedback, you will be more and more able to custom-tailor your lessons to their specific needs and interests. This in turn will increase motivation and autonomy.
Sounds like sure-fire success? Absolutely!